
You can add form elements to your Splash Pages to collect just about any type of information that you'd like, ie: postal codes, survey questions, checkboxes etc.
Collecting Guest Profile Info Details
Fields are available for Email, First Name, Last Name, Country, Region, City, Address, Gender, Birth date, Postal Code, and Mobile Number.
- The Mobile Number field will not be validated via SMS like the SMS login method.
- The Birth Date field is only accessible using the Date field form.
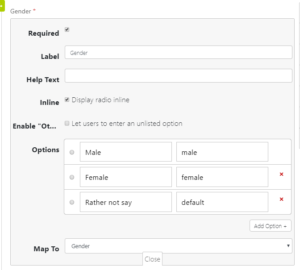
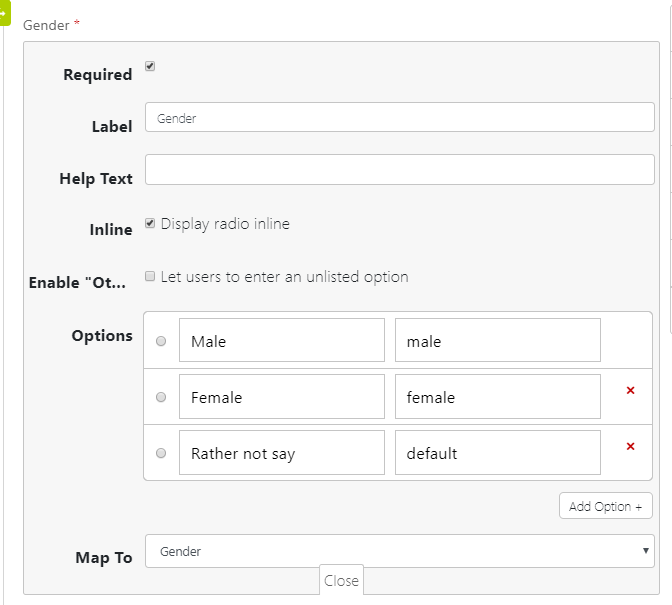
- The Gender field is only accessible on the Radio button form and will only accept male or female values(the second column in the image below) and anything will not be mapped to a guest profile.
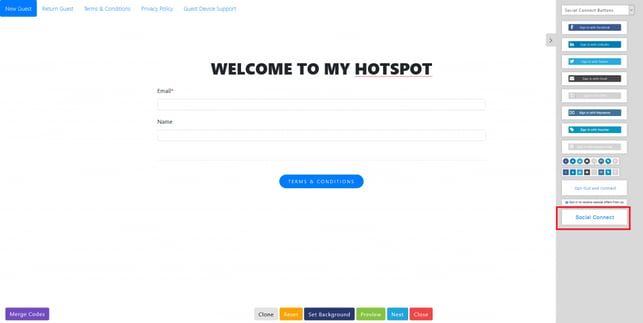
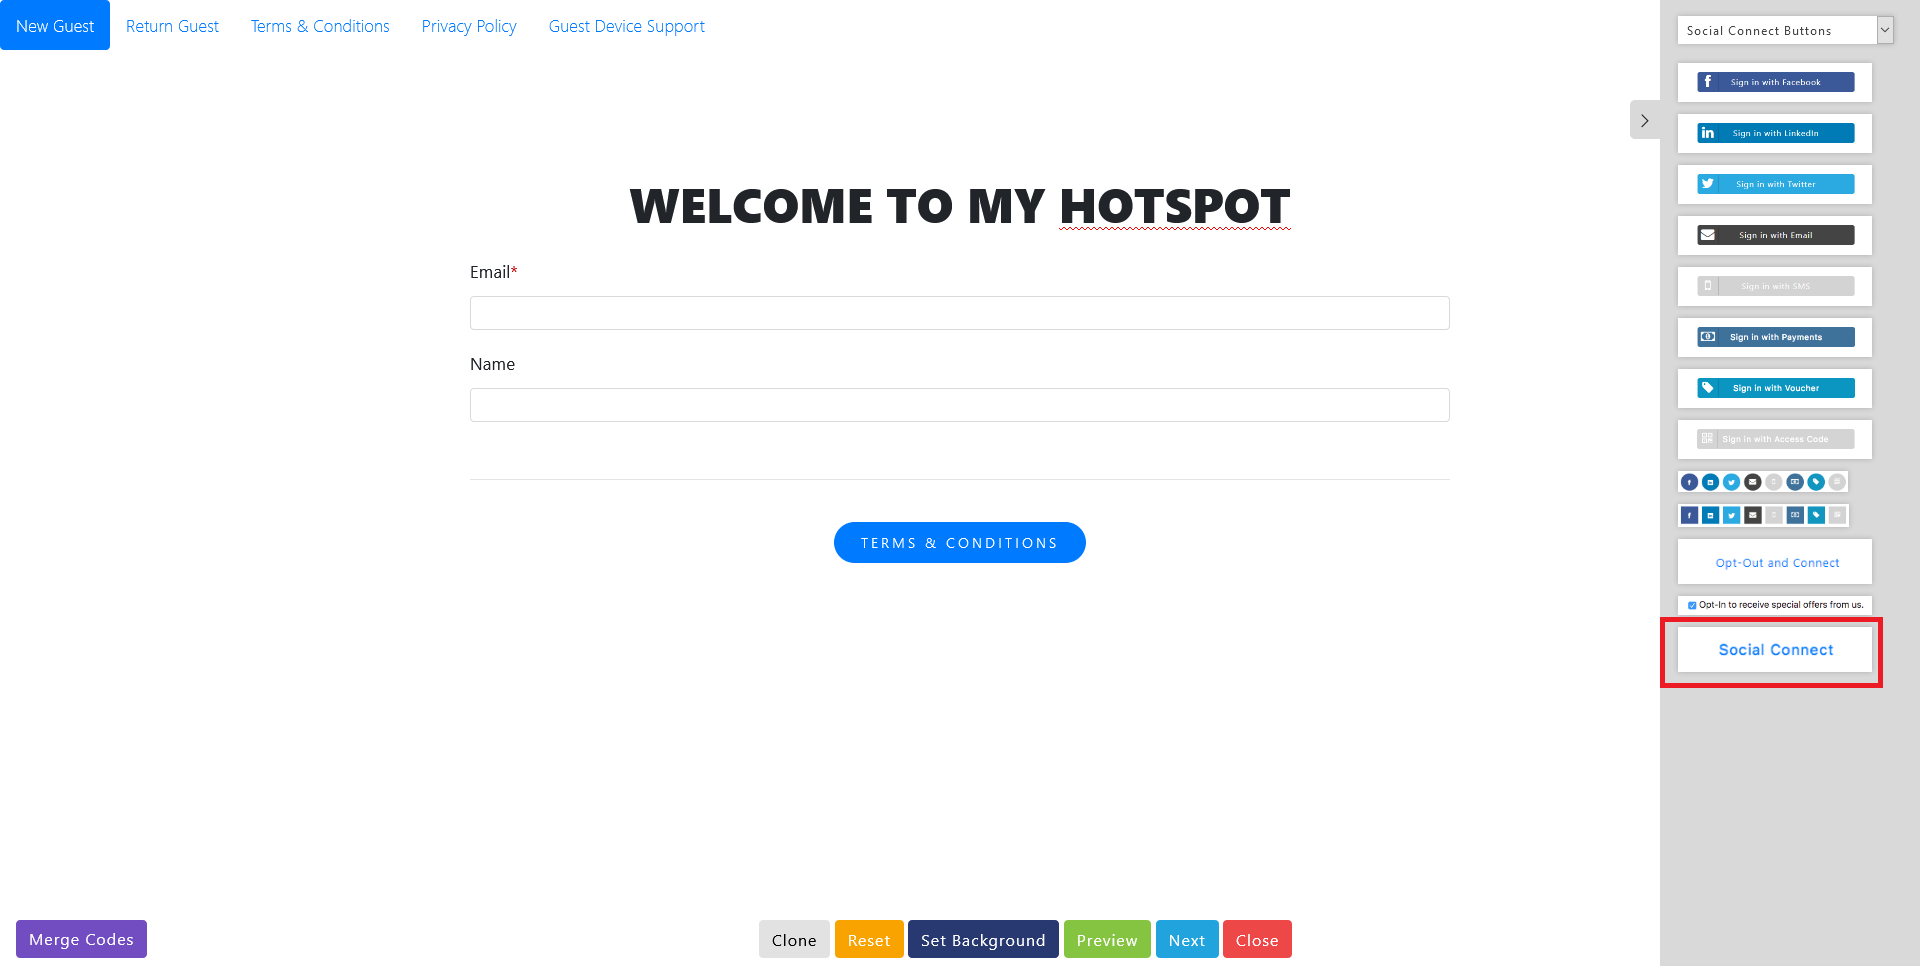
- If you want to use the form builder fields to collect all the Guest Profile data you're interested in and not use any social sign on methods please be sure to use the 'Social Connect' button on your splash connect page ensure the PII and custom data is properly collected.
Adding a form to your Splash Page:
-
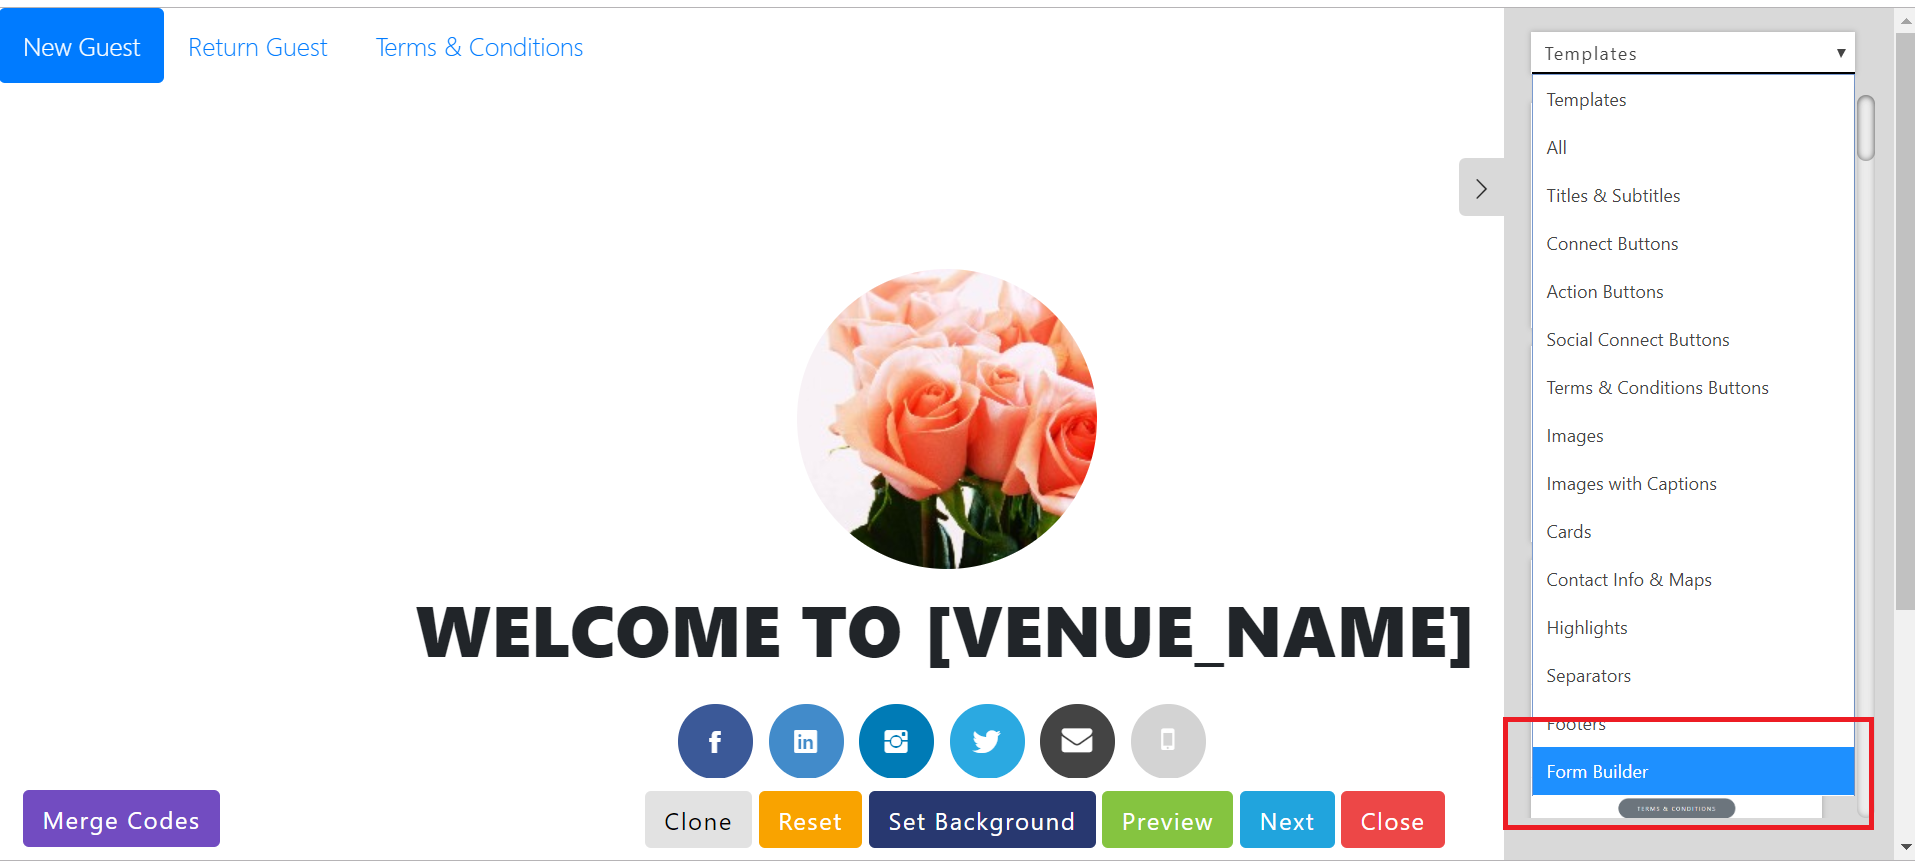
Open the Splash Page Drag-and-Drop editor and pull-down the element list to find the 'form builder' element.
-
Drag the Form Element to the desired area on the Splash Page Note: You can only have 1 form per splash page. If you would like to split up forms then add a new Splash Page and use the Guest Flows to connect the forms.
-
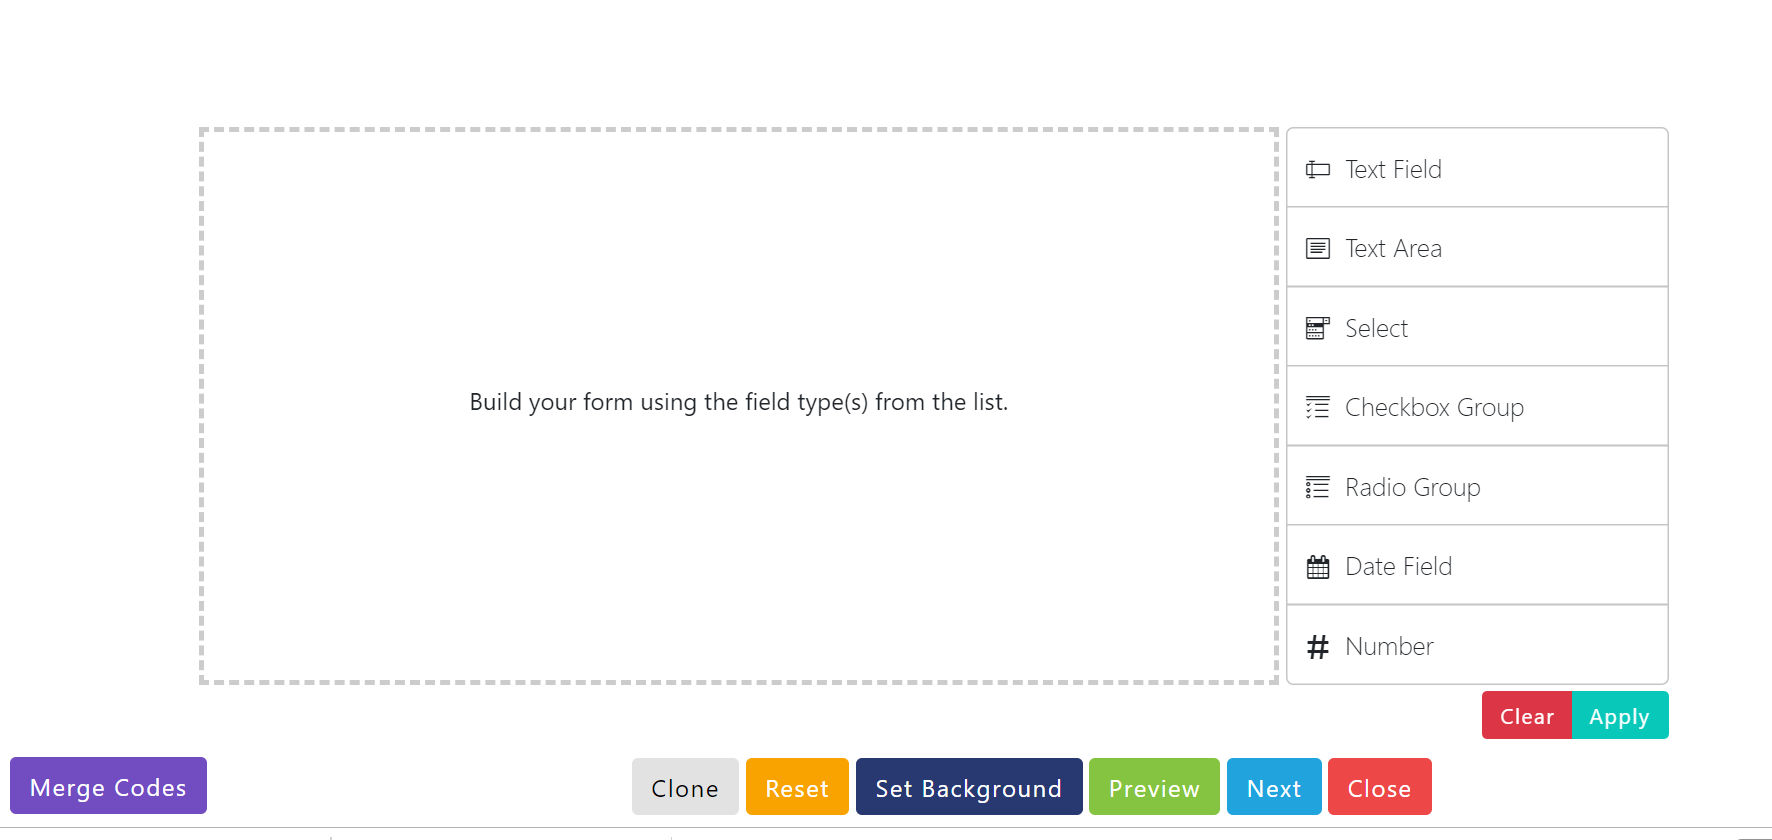
Start building your form by clicking on the type of form field you would like. You have several types of form field types you can add.
-
As you add a new field, be sure to set the field properties BEFORE you Apply the form to the splash page. To apply properties, click the 'Edit' icon.
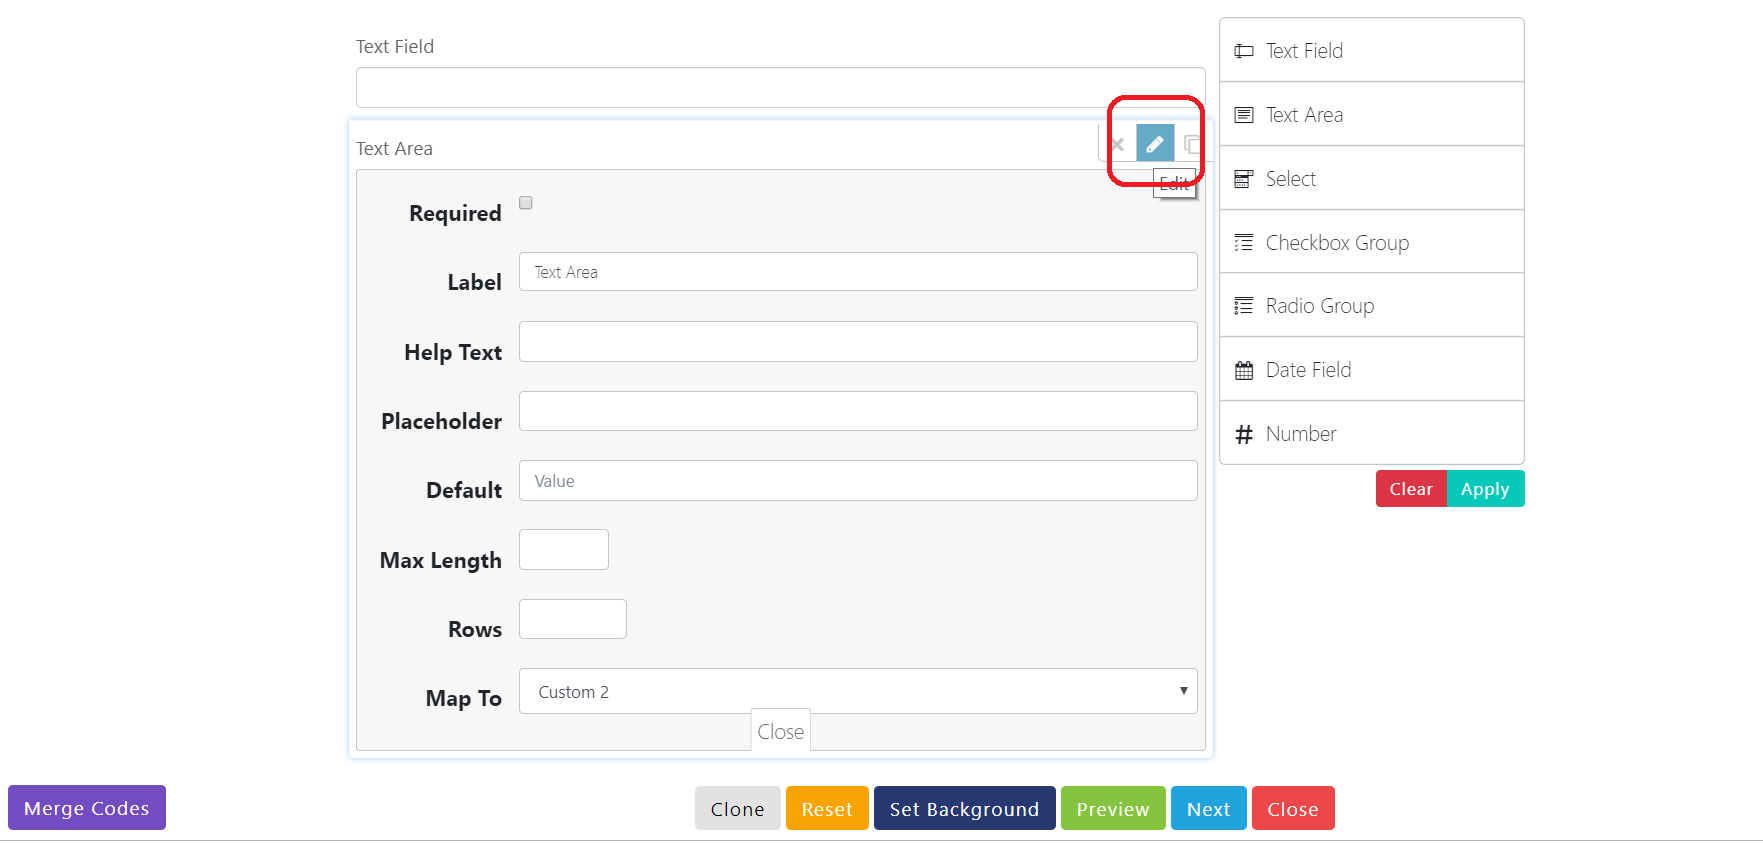
- Label: This will be displayed to your guest, the name of the box
- Help Text: You may use this to further explain context around this question.
- Place Holder: Text that will be visible to your guest but is ghost text. Meaning, if they don't put anything in this box, it will not be recorded in the report.
- Default: This is the default text that will appear in the text box, if your guest should leave it blank, this will be recorded in the report. i.e. you may put your postal code.
- Max Length: Max characters you're allowing your guest to input.
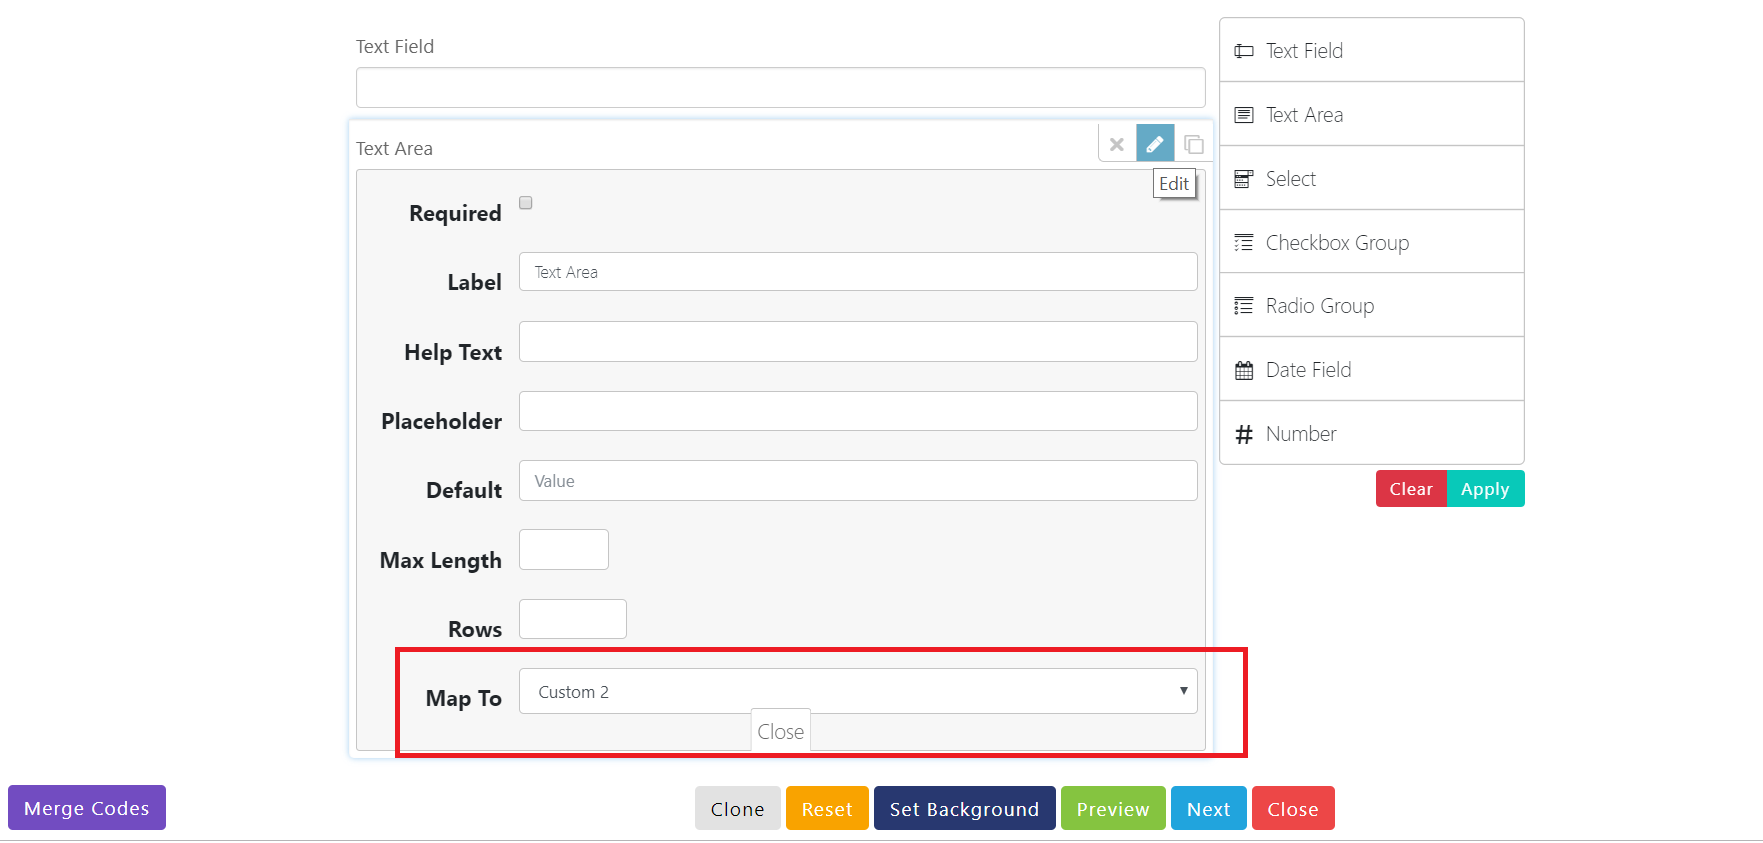
- Map To: Determine as a whole how many questions you're going to ask, each question should get it's own custom box.
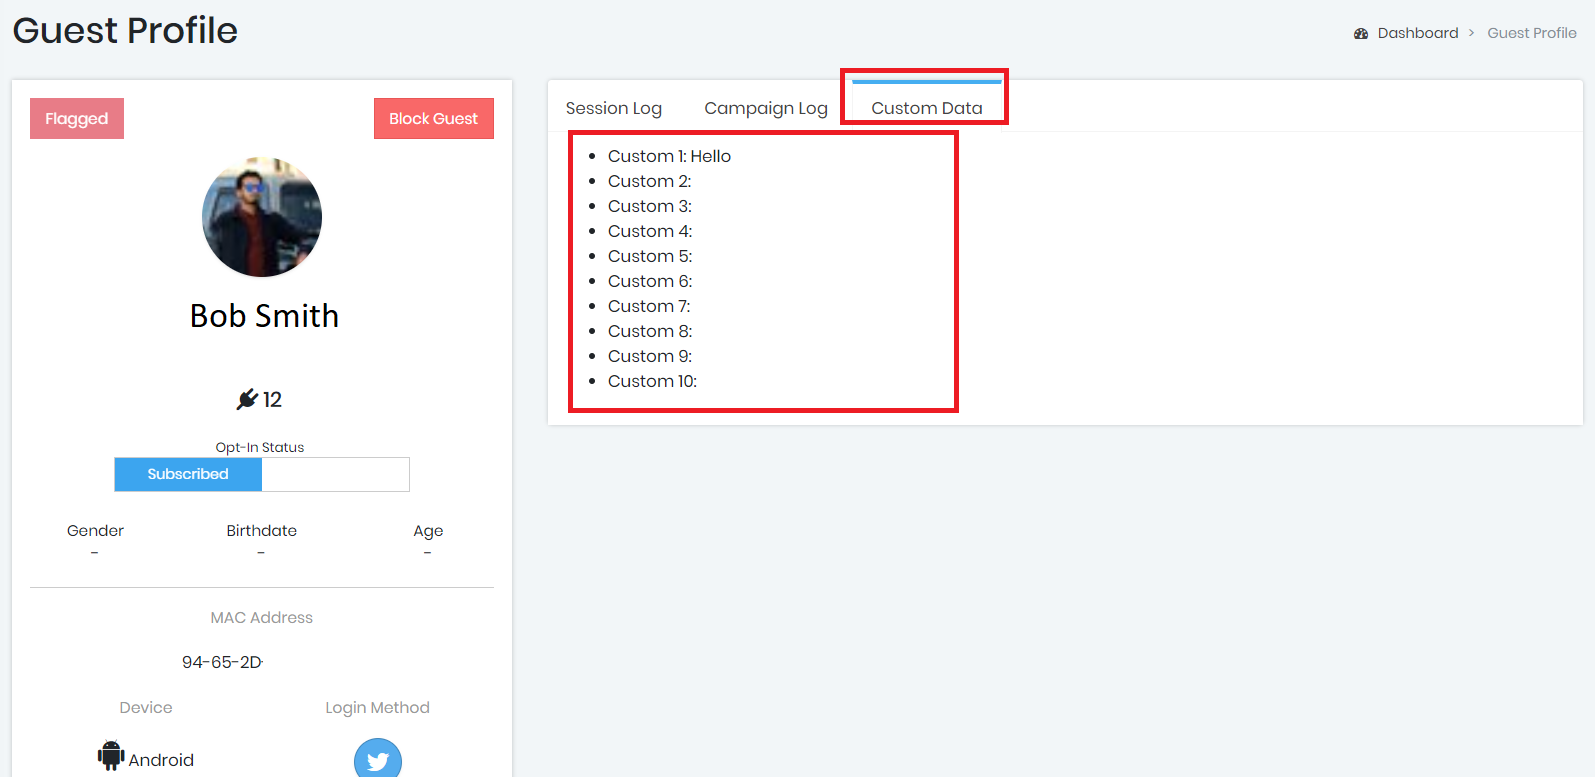
- When the guest fills in the field, the data that is collected will be sent to their Guest Profile. There are 10 available custom fields. You can map the data to a particular field in the Guest Profile and on Guest Report exports. Choose the field that you'd like the data mapped to (associated with) by pulling down the 'Map to' selector. By default, each field type will default to a different custom field in case the 'Map to' is not selected, data will not be over-written.
- Once you are done adding the desired fields, click the 'Apply' button and the form will be added to your Splash Page where you can format the text type/colors and other attributes.
Note: Once you 'Apply' the form, it cannot be edited. If you need to make a change then you will need to delete the form block and start over. Please do not try to copy a form from another splash page and paste it into a new one. While it may appear that the form is on your splash page, no data will be collected. Best practice is to re-create the form in the Drag-and-Drop editor on the new splash page.
Where is the custom data?
The custom data will be available is several areas of the dashboard.
-
1. In each Guest Profile ➡️ Custom Data
-
2. In the Guest Summary Report ➡️ Export
