
Having multiple splash pages gives you more room for a menu, promotions & specials.
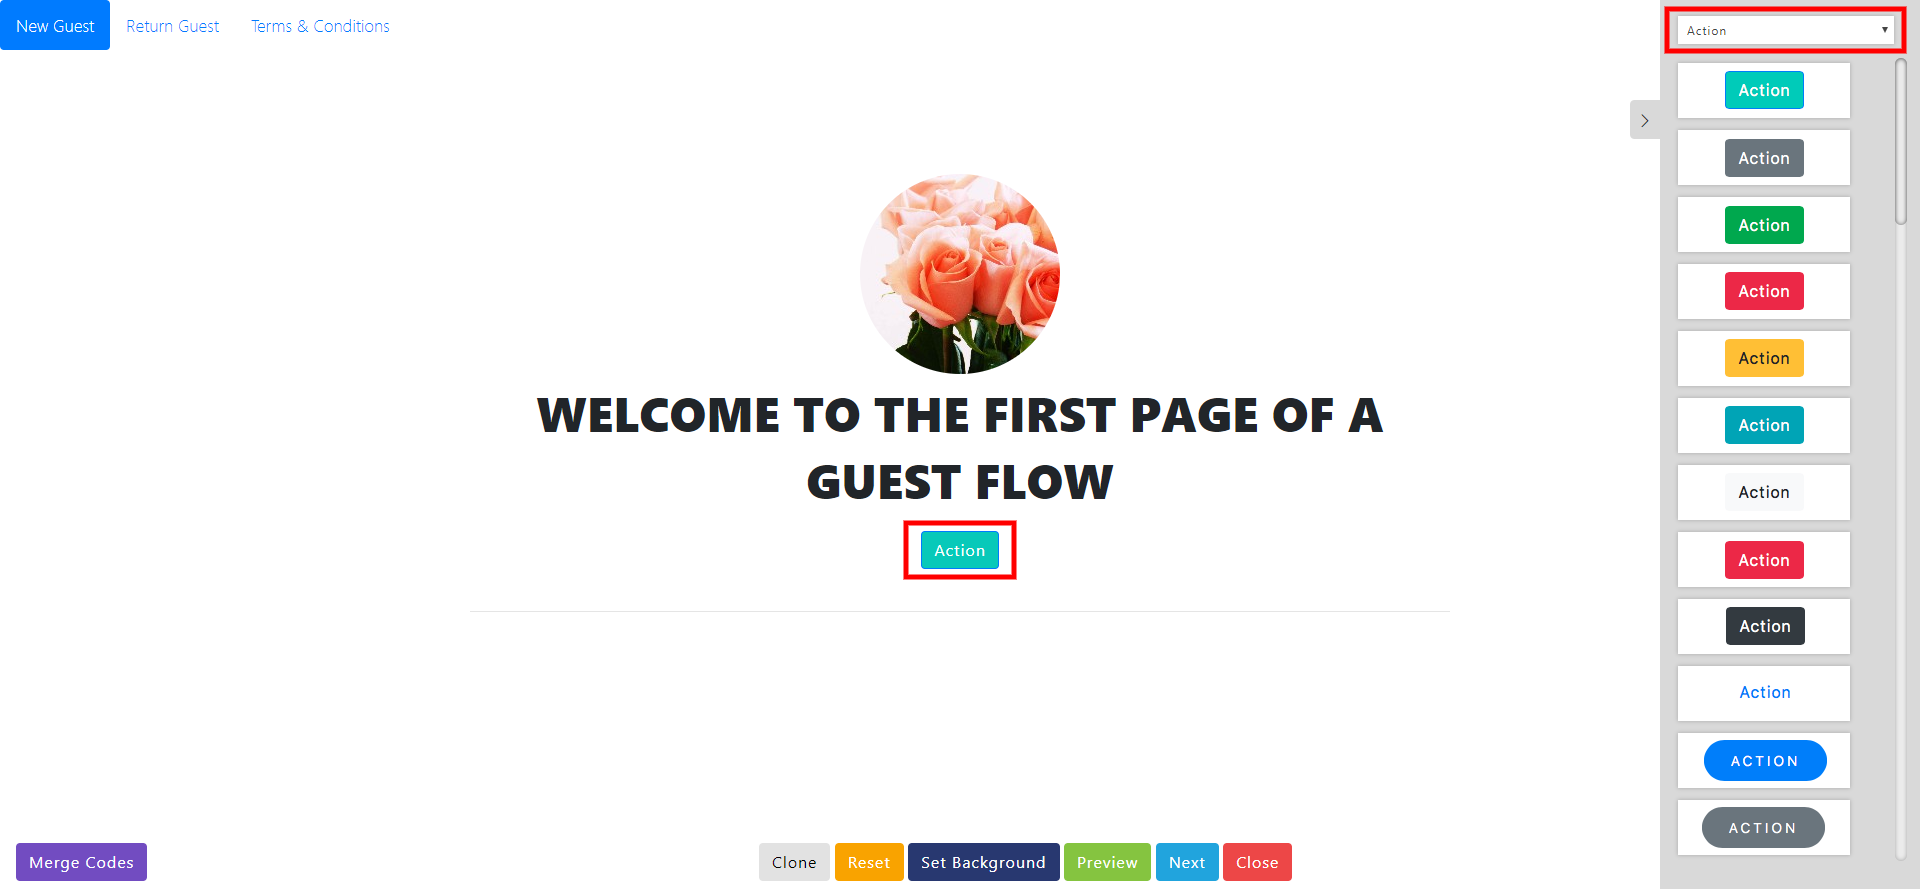
A Guest Flow allows you to connect multiple existing splash pages together to be presented to your guest before they connect to WiFi. You can use the 'Action' button in the drag and drop builder to allow guests to continue on between the pages you set. Only the final page of a guest flow should contain the social login buttons. The Guest Flow profile will assign the proper action to each pages "Action' button. Provided below is an example of using the action buttons inside the Drag and Drop Splash Page editor.
Step 1: Confirm 'Action' Buttons have been added to your splash pages.
Step 2: Edit the Guest Flow
- Use the navigation menu to the left to select Network > Guest Flows.
- Click the blue edit icon on the desired Guest Flow.
- Using the Splash Pages you confirmed contain an 'Action' button, add the splash pages in the order you would like them displayed.
- You can set the text that will replace the text in the Action button when the splash pages are presented using the 'Connect/Continue Text field'. If no text is entered, by default Continue and Connect will be used.
The Call-To-Action skip flow toggle is for the Ads4WiFi integration
If enabled and there are Ads on your splash page guests will be able to connect without completing the social login process by clicking on the Ads.
Step 3: Edit Hotspot
-
- Use the navigation menu to the left to select Network > Hotspot.
- Click the blue edit icon on the desired hotspot.
- On the Edit hotspot page, scroll down to the 'Splash Page Selector'
- In the top drop down menu select Guest Flow and then below select the Guest Flow you wish to use.

- In the top drop down menu select Guest Flow and then below select the Guest Flow you wish to use.
- Submit the page to save your changes.
- You can view your new Guest Flow with the "View Splash Page" option at the top of the edit hotspot page.
