[ht_message mstyle="danger" title="" show_icon="" id="" class="" style="" ]Please contact support if you do not see any of the options described in this article in your dashboard.[/ht_message] The follow steps discuss how to configure your Smart WiFi account to Zapier to sync New Guest data to another application supported by Zapier.
- Login to your Zapier account before proceeding.
- Login to your Smart WiFi dashboard
- Using the navigation panel to the left, click Client Settings > Client Customizations
- : copy this value for use later in this guide
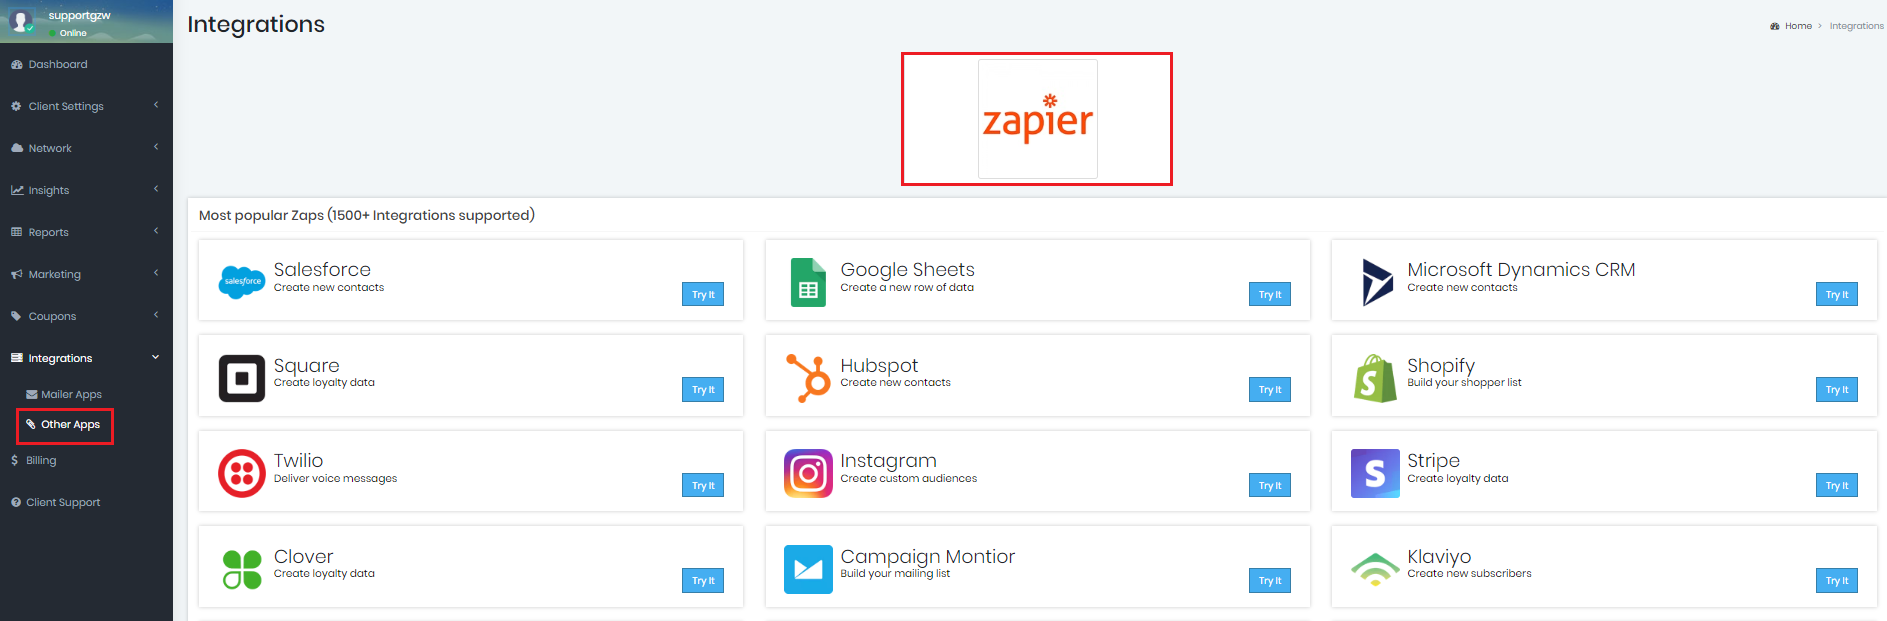
- Using the navigation panel to the left, click Integrations>Other Apps
- Click the Zapier Icon and you will be shown your Zapier API Key. Copy this value for use later in this guide.
- Click the Zapier Icon and you will be shown your Zapier API Key. Copy this value for use later in this guide.
- Click on any "Try It" button to be invited to the Smart WiFi App. Accept the invitation and the Smart WiFi integrations will be available for your Zapier account.
- On your Zapier Zap page, click the Create Zap button
- In the search bar for the Trigger, search for Smart WiFi Platform and click the option to select it as your Zap's trigger
- App & Event
- Smart WiFi Platform should be selected
- Event: New Guest
- Press Continue
- Account
- Press Sign In and a pop up window from Zapier should appear
- API-Token: Paste your Zapier API Key collected in step 3
- Platform Environment: Select your environment from step 4
- Press Yes, Continue to Smart WiFi Platform
- Press Continue
- Trigger
- Select Hotspots: Leave this blank to send data from every hotspot under your account with this Zap. You can specify a hotspot if you wish too.
- Interval: Default is 15 min. You can adjust this to a longer interval if you wish to schedule a Zap to run less frequently.
- Unsubscribed: False[ht_message mstyle="info" title="" show_icon="" id="" class="" style="" ]
- False: Data for Guests who have not unsubscribed from your Smart WiFi account will be synced.
- True: Data for Guests who have unsubscribed from your Smart WiFi account will be synced.[/ht_message]
- Press Continue
- Test
- Press Test trigger
- You should see Guest data from your dashboard. The list of parameters here are the fields you can sync to another platform as part of your Zap. [ht_message mstyle="info" title="" show_icon="" id="" class="" style="" ]If the Zap is unable to find a guest, go back to the Trigger section of the Zap and increase the interval to a time frame where New Guest data is present.[/ht_message]
- Press Continue
- App & Event
- The Smart WiFi Platform Trigger portion of your Zap is now configured. You will need to complete the Action portion of the Zap to your desired Application before you can enable the Zap. [ht_message mstyle="info" title="" show_icon="" id="" class="" style="" ]
Available fields from the Smart WiFi Platform App
- mobile_phone
- first_name
- last_name
- country
- region
- city
- address
- gender
- birthdate
- postal_code
- mobile_number
- profile_url
- custom1-10