
Please contact support if you do not see any of the options described in this article in your dashboard.
Pre-Configuration Checklist
- Login to your Zapier account before proceeding.
- Login to your Smart WiFi dashboard
- Using the navigation panel to the left, click Client Settings ➡️ Client Customizations
- Platform Environment: copy this value for use later in this guide
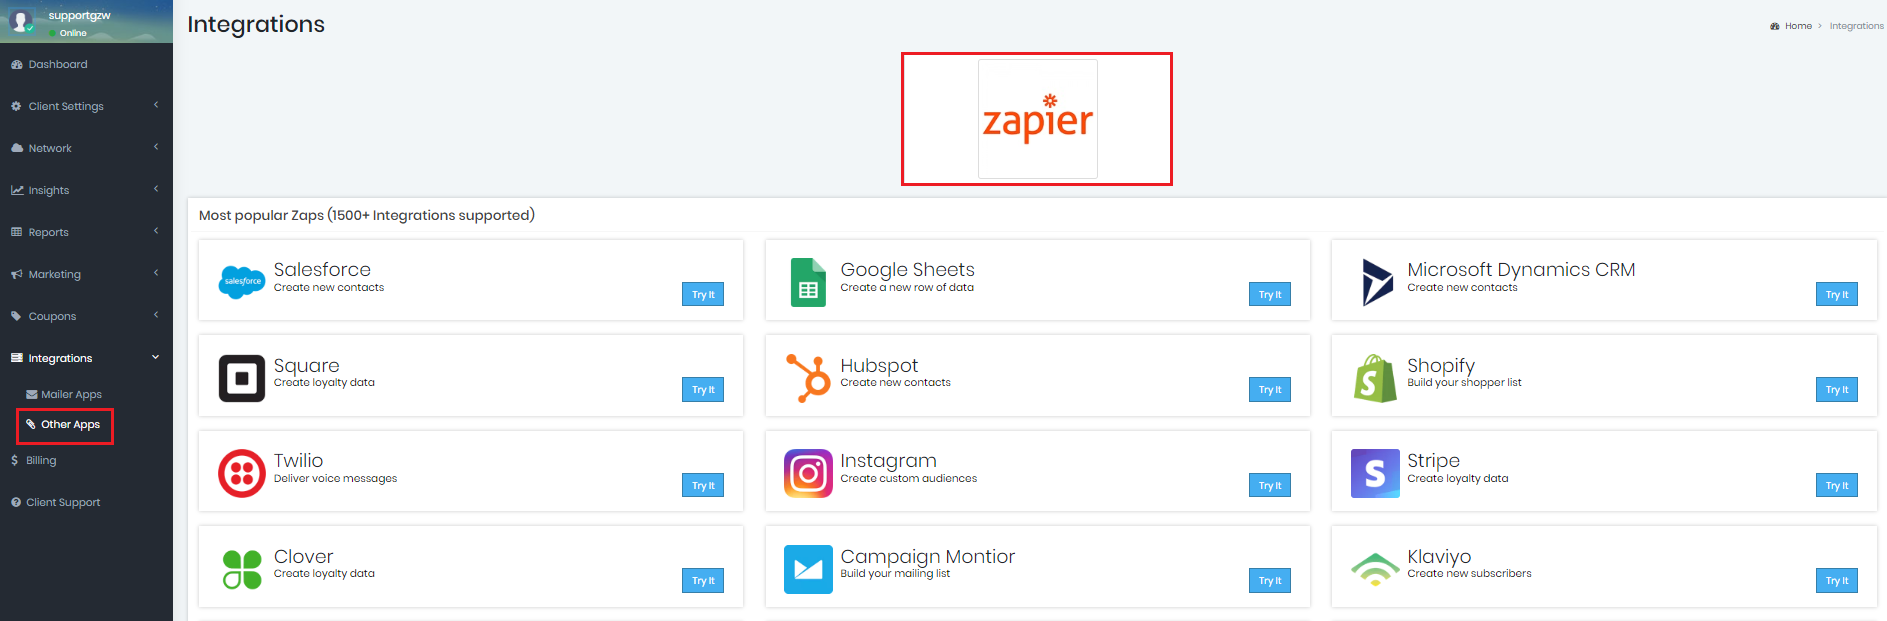
- Using the navigation panel to the left, click Integrations ➡️ Other Apps
- Click the Zapier Icon and you will be shown your Zapier API Key. Copy this value for use later in this guide.
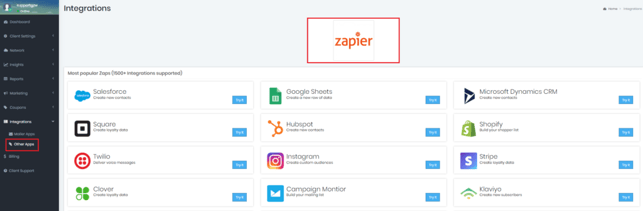
- Click the Zapier Icon and you will be shown your Zapier API Key. Copy this value for use later in this guide.
- Click on any "Try It" button and accept the invitation to the Smart WiFi Platform App. Once accepted you will be able to search for the Smart WiFi Platform App in your Zapier account.
Zapier Zap Setup
The following steps outline setting up the Smart WiFi Platform Zapier App Action for Create Contact. This guide assumes the trigger portion of your Zap has already been configured.
- Log into your Zapier account
- Visit your Zapier Zaps page
- Click on your existing Zap to open the Zap editor
- Click to Add a step after your configured Trigger
- Search for Smart WiFi Platform and click on the result
- Setup
- App: Smart WiFi Platform
- Event: Create Contact
- Account: Press Sign In and a pop up window from Zapier should appear
- API-Token: Paste your Zapier API Key collected in step 3
- Platform Environment: Select your environment from step 4
- Press Yes, Continue to Smart WiFi Platform
- Press Continue
- Press Continue
- Configure The following fields are available to insert data from your Zap trigger step. Configure your desired fields and press the Continue button.
- First Name
- Last Name
- Twitter Username
- Mobile Phone
- Birth Date
- Gender
- Address
- Address 2
- City
- Region
- Country
- Postal Code
- Unsubscribe
- Tags
- Custom data 1 through 10
- Test
- Press Test trigger
- After this you should see your test Contact created in your Contact Manager.
- Setup
- Press Publish to make your Zap go live.